自製鍋貼皮 半燙麵做法,之前有說過半燙麵的麵皮適合用來做煎餃皮(食譜點我),所以這次我也適用半燙麵的麵團來做鍋貼皮。如果想要做適合水煮的水餃,可以參考我這篇用冷水和麵的水餃皮,用冷水和麵的麵團適合用來水煮。更多水餃相關食譜:水餃皮食譜(冷水和麵適合水煮),煎餃皮食譜(半燙麵),高麗菜豬肉水餃、韓式辣味冰花煎餃。
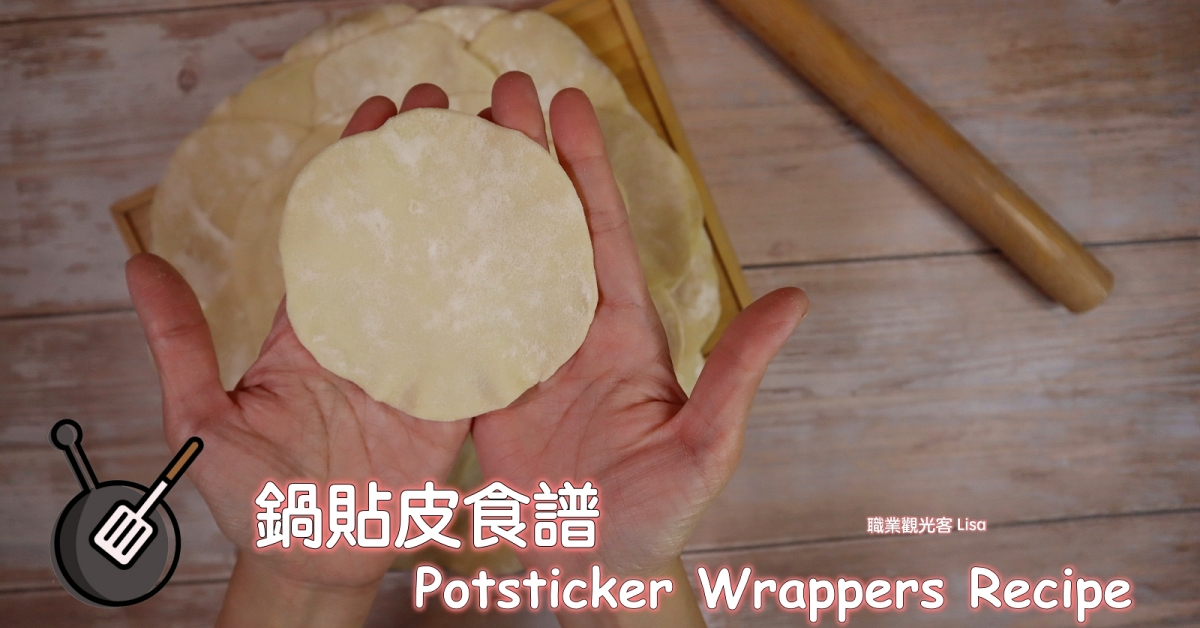
Table of Contents
自製鍋貼皮 (半燙麵)食譜,自己在家做手工鍋貼
自製鍋貼皮食譜影片 Video Recipe of Potsticker Wrappers
通常影片都會先發,後來才會寫網誌,大家可以訂閱我的YouTube(傳送門)呦!
I update my YouTube at first. Subscribe Me (YouTube LINK).
一起附上自製鍋貼皮做法的完整影片。
如果喜歡,請幫我訂閱一下YouTube頻道(點我即可連到YouTube),感謝。
自製鍋貼皮材料 Ingredients of Potsticker Wrappers
材料:
| 中筋麵粉 | 600g |
| 鹽 | 4g |
| 熱水 | 220g |
| 常溫水 | 90g |
Ingredients of Potsticker Wrappers
| 600g | All-Purpose Flour |
| 4g | Salt |
| 220g | Hot Water |
| 90g | Water |
自製鍋貼皮做法 Potsticker Wrappers Recipe
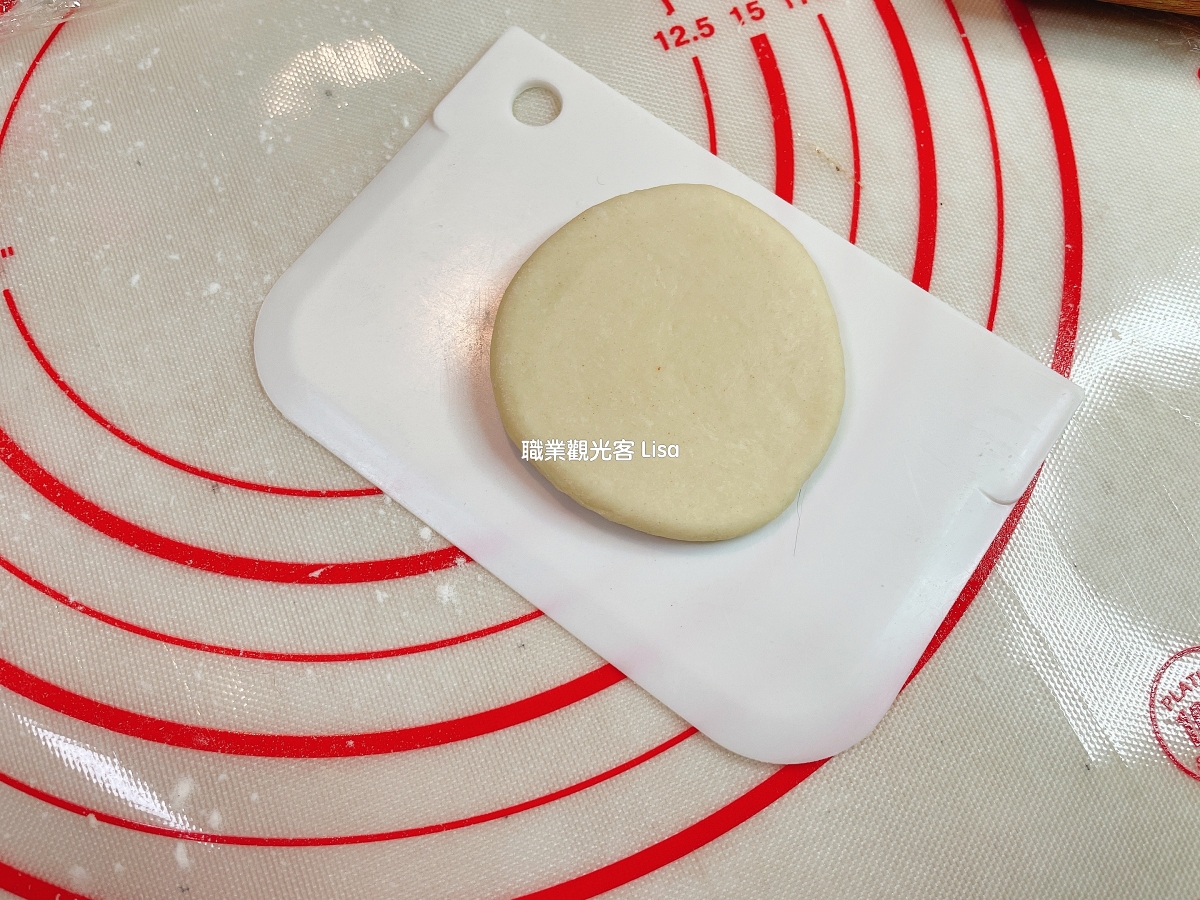
自製鍋貼皮食譜 做法步驟:
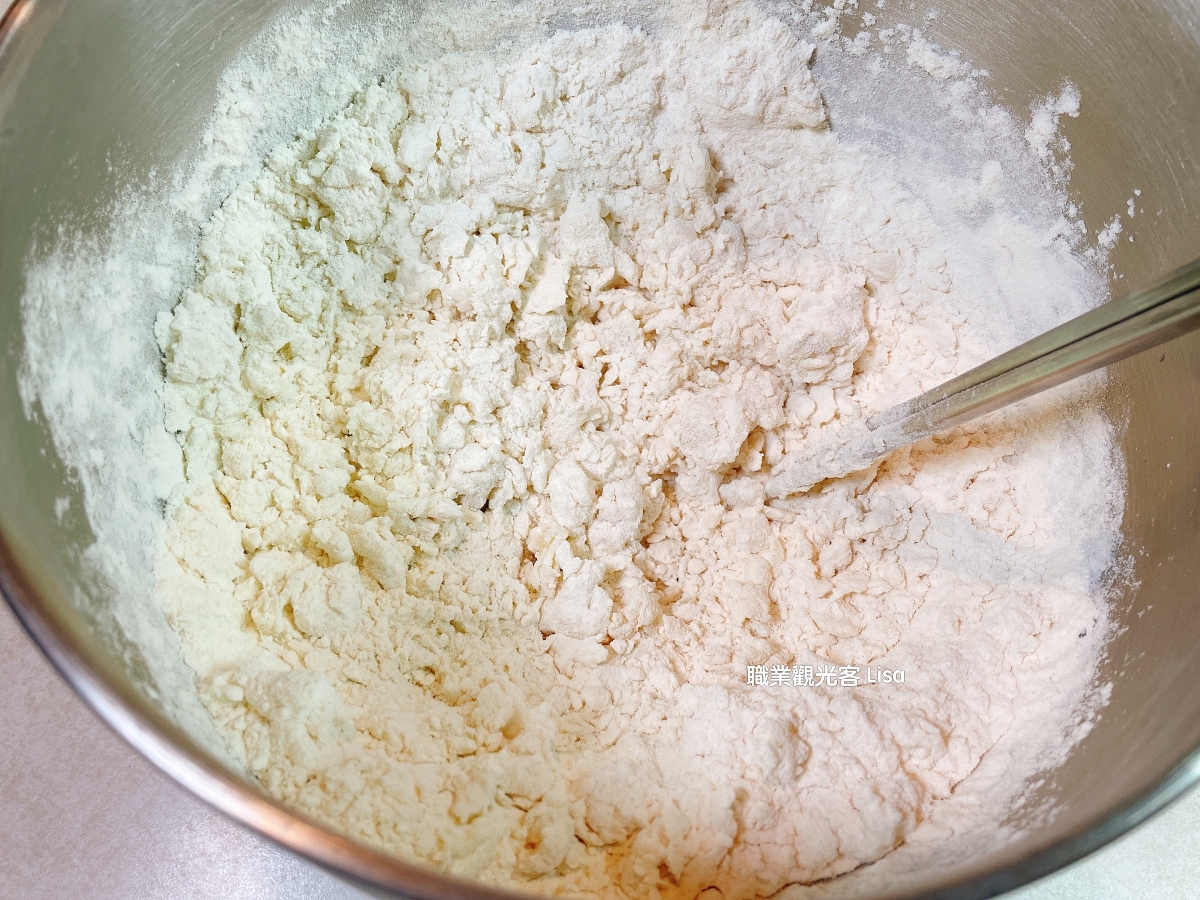
- 將中筋麵粉及鹽巴放入盆中,加入熱水攪拌成絮狀,再加入冷水。
- 用攪拌機攪成麵團。
- 將麵團放到墊子上,稍微揉一下,蓋上保鮮膜鬆弛10分鐘。
- 10分鐘後稍微揉一下麵團就光滑了,再蓋上保鮮膜鬆弛一小時。
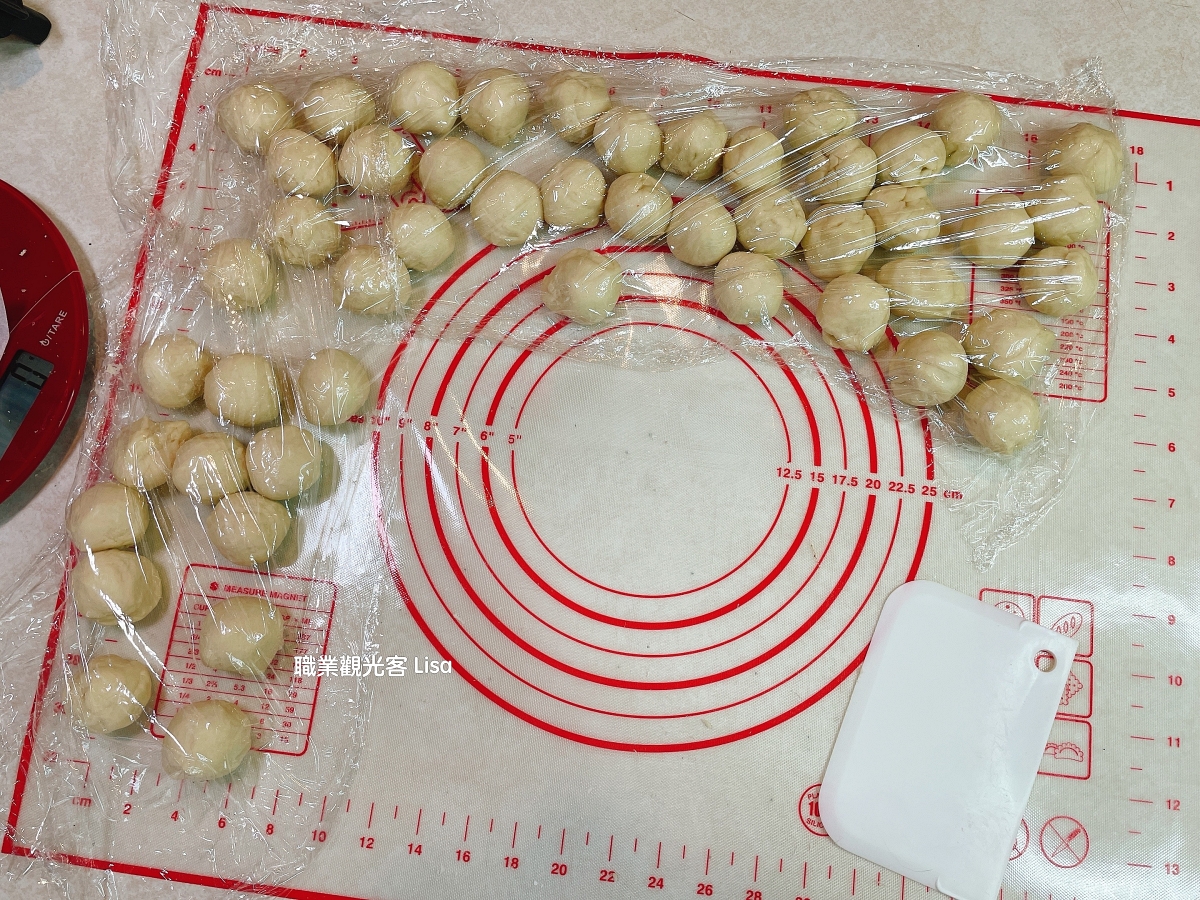
- 一小時後,將麵團分成每個約18克的小麵團。
- 將小麵團桿成圓形鍋貼皮,鍋貼皮周圍可以薄一點。
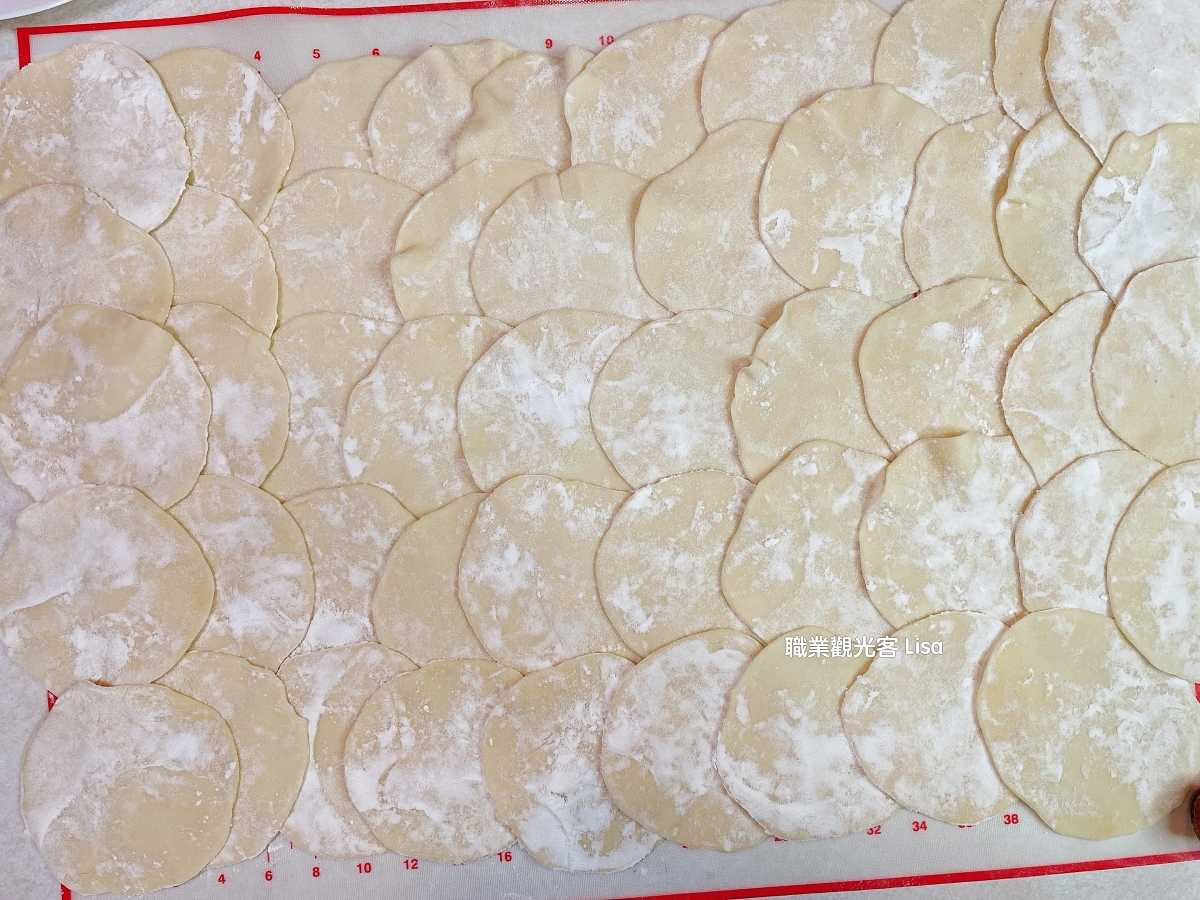
- 最後記得先兩面撒上麵粉,再跟其他皮放在一起,差不多做了49張皮(每張約18克左右)。
- 這樣子鍋貼皮就完成了,可以準備包鍋貼了。
How to make Potsticker Wrappers?
- Add all-purpose flour and salt into a stand mixer bowl. Then, add hot water into the bowl and stir it, then add water.
- Put the bowl into a stand mixer and knead the dough.
- Put the dough on a mat and knead it for a minute. Then, cover it and rest for 10 minutes.
- After 10 minutes, knead the dough till smooth, then cover it and rest for 1 hour.
- After 1 hour, divide the dough into every 18g smaller dough.
- Roll the small dough into a circle shape, and the wrappers can be thinner around.
- Don’t forget to sprinkle some flour on the wrapper before putting it with other wrappers (I make 49 potsticker wrappers).
- It’s time to wrap potstickers.

自製鍋貼皮食譜小提示:
- 我的鍋貼皮每個18克左右,此食譜材料約可做49張。
- 不同品牌麵粉吸水度不同,如果覺得麵團太乾可以適量加點水。
- 麵團一開始沒有光滑也沒關係,鬆馳之後再揉就可以了。
- 我有把鍋貼皮的邊緣桿薄一點,我覺得這樣包的時候黏合處的厚度吃起來才會剛好。
Tips of Potsticker Wrappers Recipe.
- It could be made in total of 49 potsticker wrappers.
- Different bread flour with different water absorb, so if you feel like the dough is not moist, you can add some water.
- If you feel like the dough is hard to knead, rest for 10 minutes.
- Roll the small dough into a circle shape, and the wrappers can be thinner around.
你也可以在Cookpad找到我的食譜分享:職業觀光客 Lisa(點下去就對了)
你也可以在愛料理找到我的食譜分享:職業觀光客 Lisa(點下去就對了)
大家一起來追蹤我的食譜Instagram吧!!(點圖進入追蹤我的IG呦~ Follow me on Instagram)
[延伸閱讀]
輕鬆做好菜:
巧克力香蕉蛋糕 ,香濃好吃的減糖香蕉蛋糕,無奶油
無奶油香蕉蛋糕 食譜,無糖無奶油健康多一點
抹茶紅豆麵包 食譜,造型麵包,今天來一隻大眼怪好嗎
巧克力輕乳酪蛋糕 ,輕柔綿密超好吃,低溫水浴烤
小熊手撕麵包 ,兩種口味的造型手撕麵包可愛又美味
瑪格麗特餅乾 食譜,零失敗餅乾,三種口味一次滿足
脆皮烤雞食譜 ,蜂蜜蘋果烤雞,肉一撕開就噴汁
巧克力古早味蛋糕 ,味香不膩,入口即化的古早台灣味
抹茶擠花餅乾 ,比例正確不塌,烤出有紋路的擠花餅乾
古早味蛋糕 食譜(水浴法),軟綿濕潤的口感超好吃
蒜蓉粉絲蒸扇貝 ,電鍋料理,15分鐘快速上菜
黑糖饅頭 食譜,大人小孩都喜歡的刺蝟造型饅頭
自製肉鬆氣炸鍋 ,簡易版做法,用烤箱代替也可以
肉燥食譜 鑄鐵鍋料理,家鄉味的滷肉飯自己來做吧!
香蕉蛋糕食譜 Banana Bread 超簡單只需要攪拌就能完成
草莓大福 食譜,草莓季無法抗拒的甜點(電鍋食譜)
蜘蛛造型餅乾 食譜,簡單容易方便做,派對食物自己做


